
How to Integrate Razorpay with Cal ID and Accept Payments for Bookings
Learn how to integrate Razorpay with Cal ID to accept booking payments and automate scheduling. Set up upfront payment collection, manage pricing and refunds, and confirm meetings only after successful payment.


Before you begin
Active Cal ID account
Razorpay business account (Owner access)
At least one Event Type created in Cal ID
Razorpay KYC verification completed
🎯 Follow the 7 steps below to complete the Razapry integration with the Cal ID.
1️⃣ Go to the Cal ID Dashboard
Home → Apps — your starting point
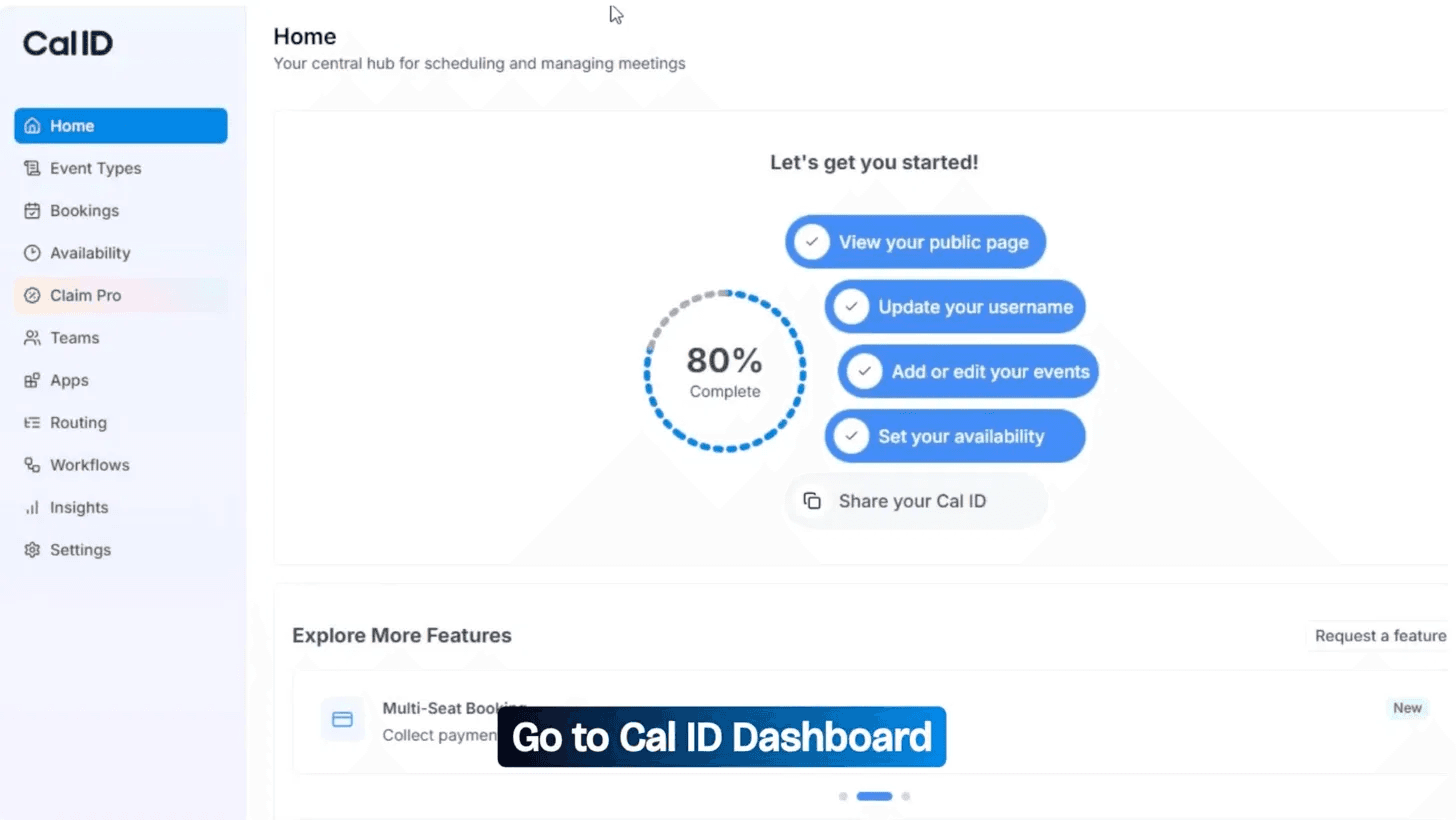
Log in to your Cal ID account. The Home screen is your central hub; it shows your setup progress ring and quick actions.
From the left sidebar, find and click Apps. This is where all third-party integrations live, including payment gateways like Razorpay.
2️⃣ Search for Razorpay in the App Store
App Store → search "Razorpay" → Install
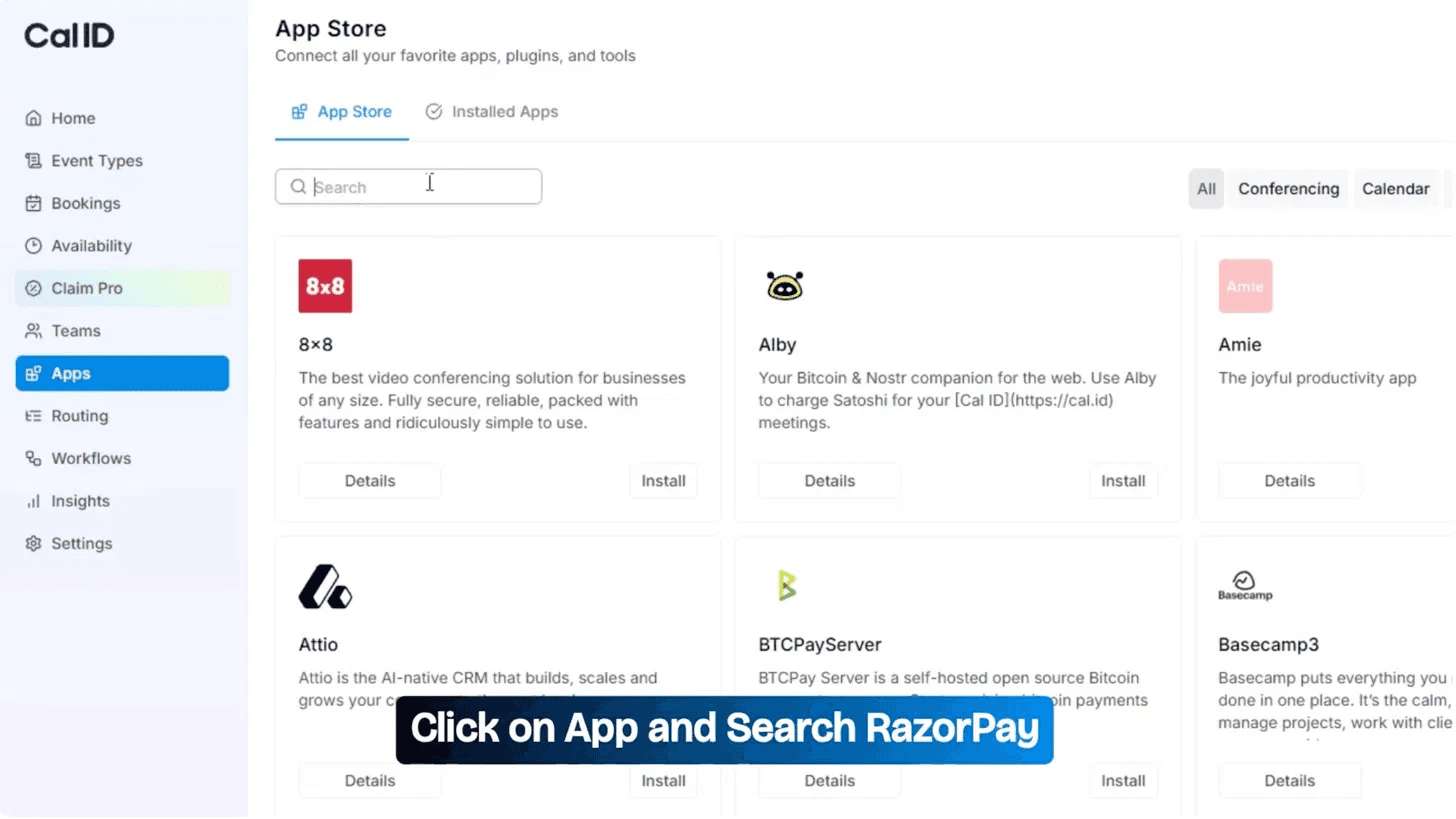
Inside the Cal ID App Store, you'll find a full directory of integrations, conferencing tools, calendars, analytics, and payment gateways.
Use the search bar and type "Razorpay" (or just "ra", it appears immediately in results).
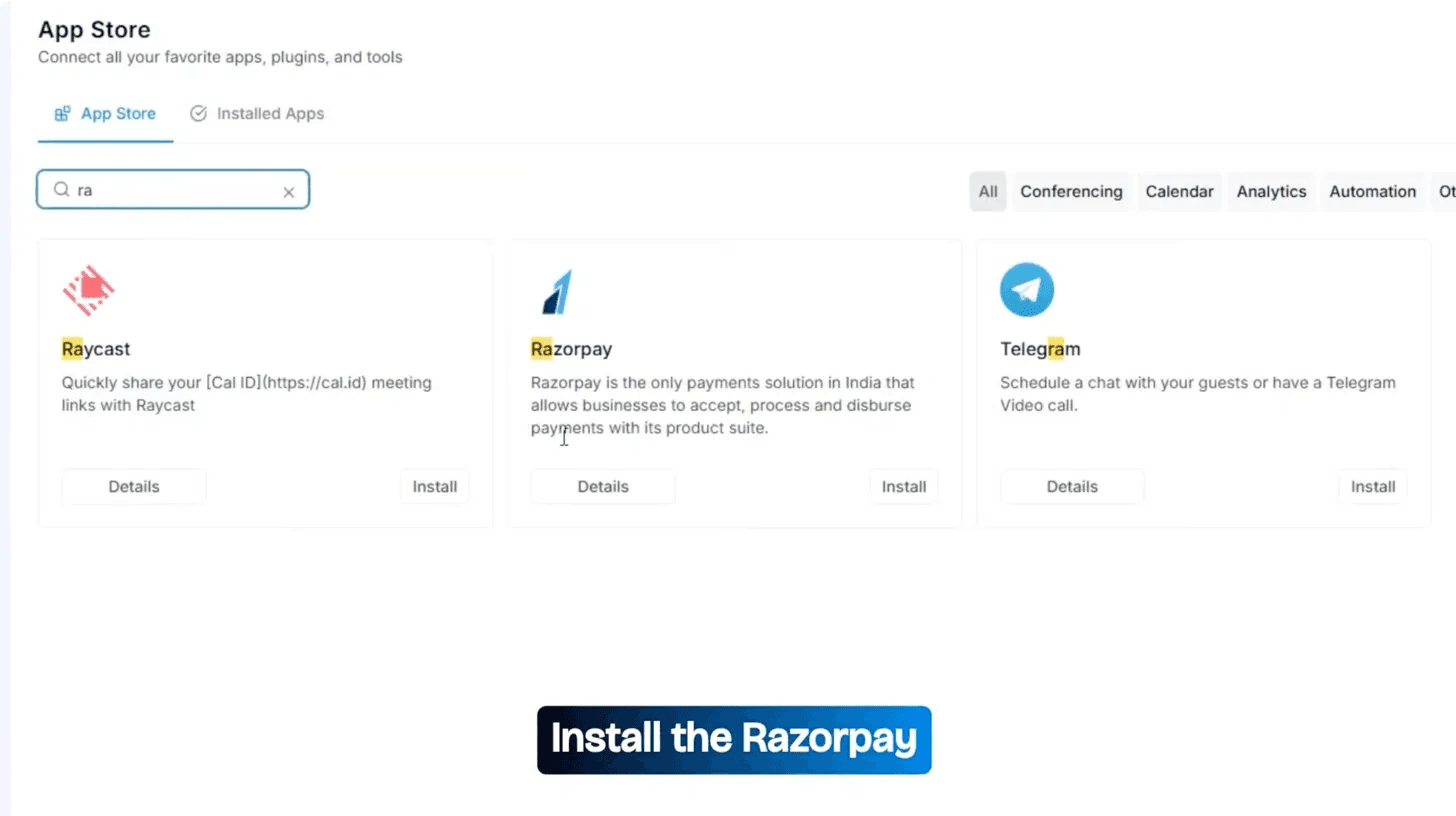
Razorpay is described as India's only complete payments solution for accepting, processing, and disbursing payments.
Click the Install button on the Razorpay card to launch the 3-step setup wizard.
3️⃣ Select Your Account & Authorise Razorpay
Login to Razorpay · Grant permissions
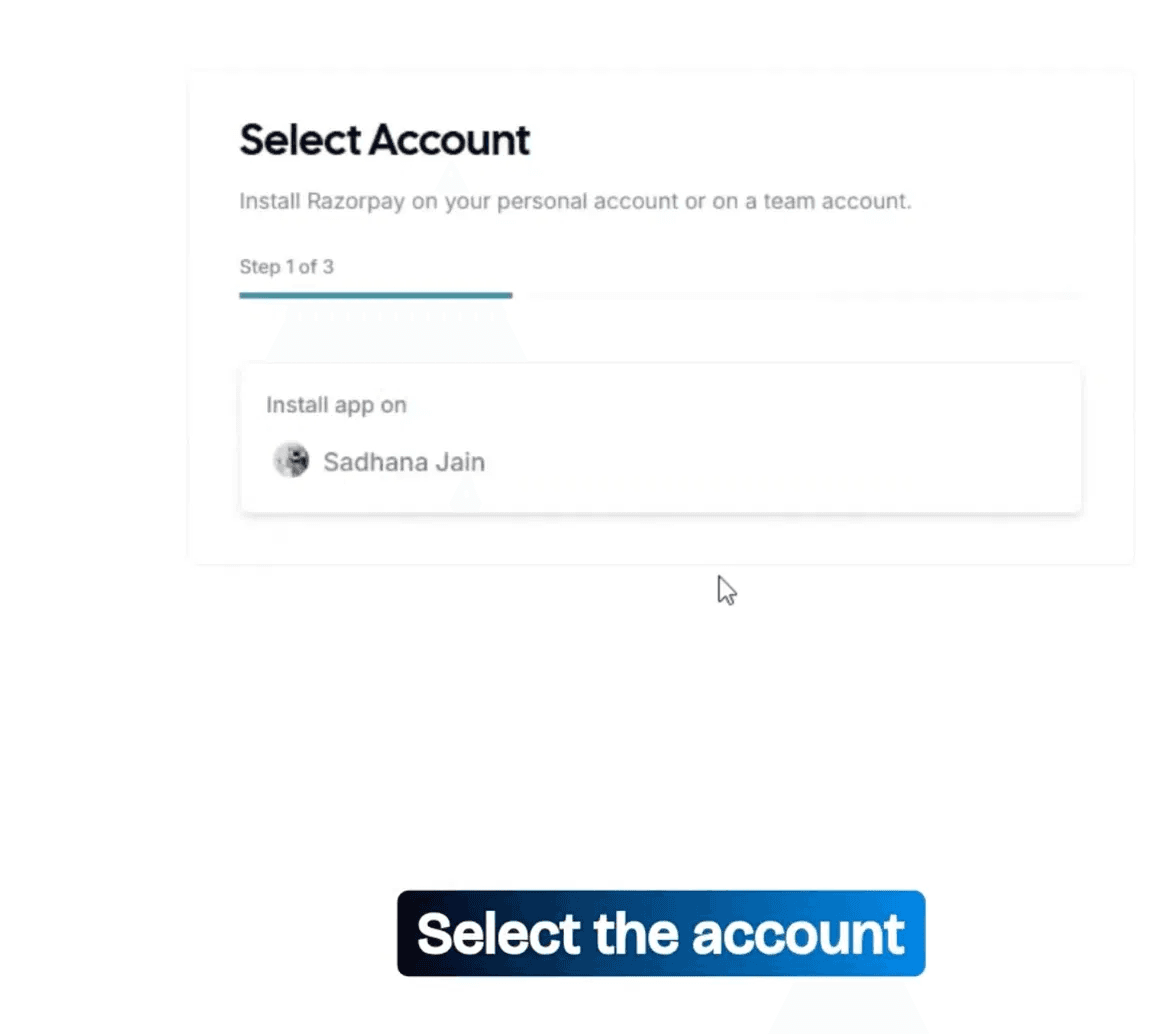
Choose whether to install Razorpay on your personal account or a team account. Click your account to proceed.
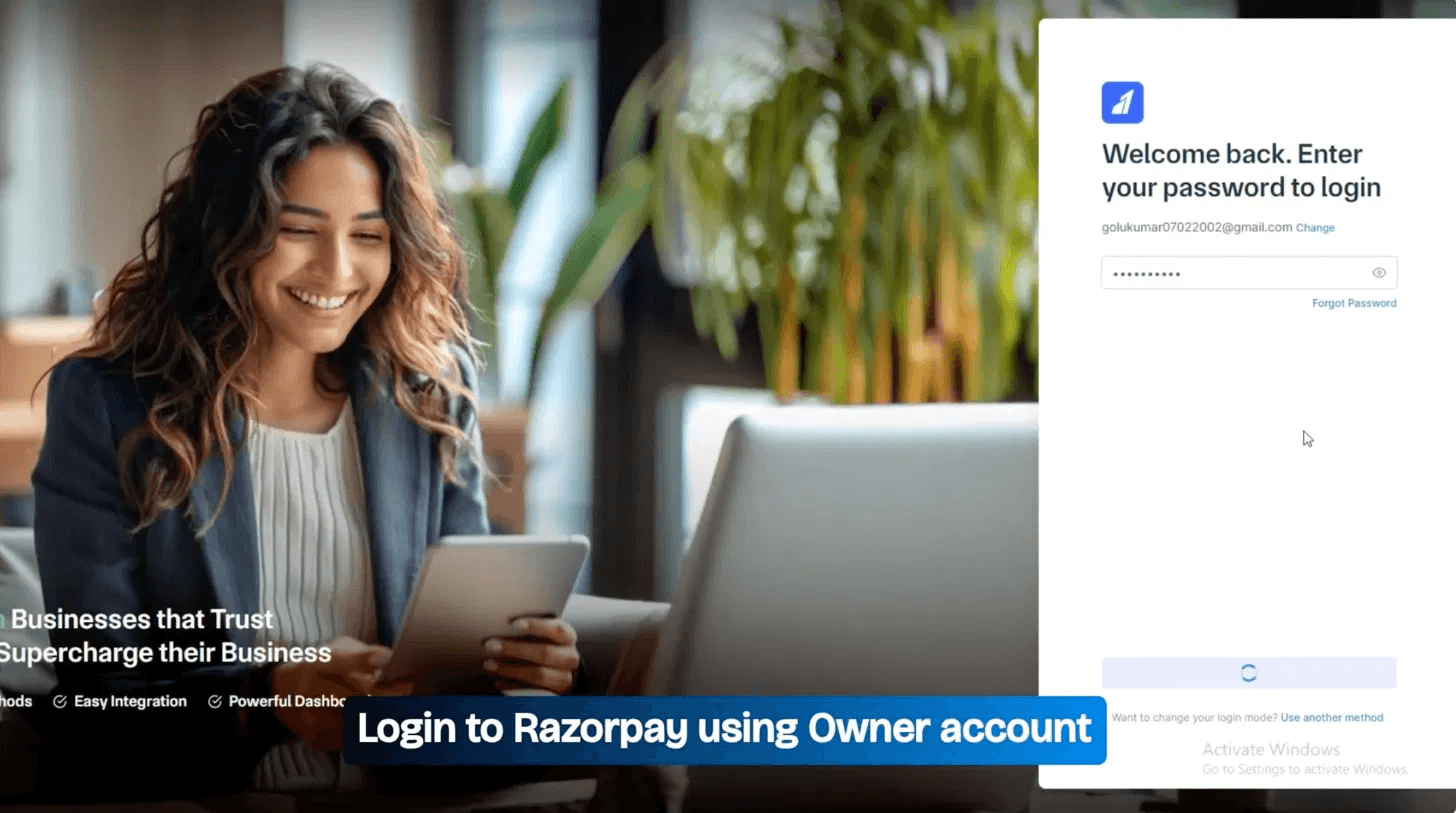
You'll be redirected to Razorpay's login page. Sign in with your Razorpay Owner account credentials. After logging in, Cal ID requests these permissions:
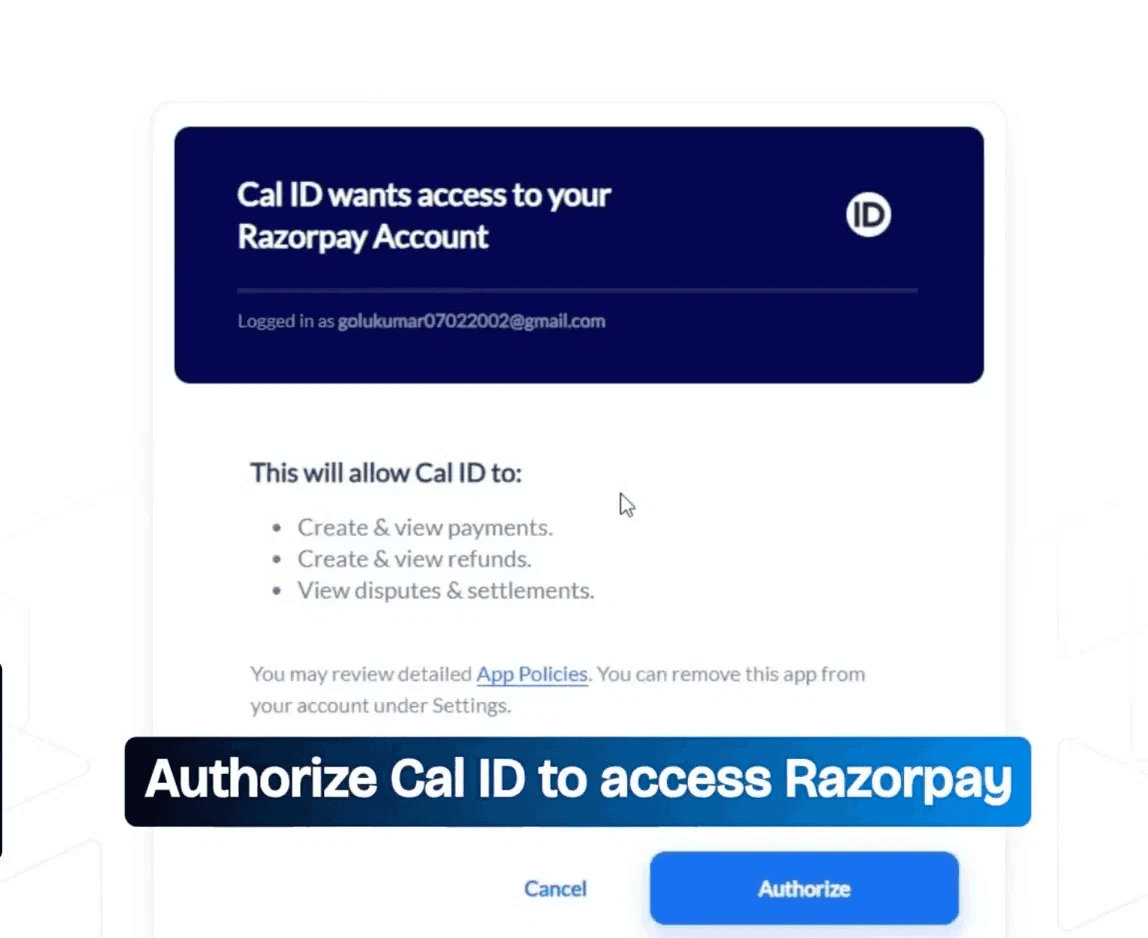
Create & view payments
Create & view refunds
View disputes & settlements
Click Authorise to grant Cal ID secure access. The integration handshake is complete, and both platforms are now connected.
⚠️ You must log in with the Owner role on Razorpay. Sub-users or restricted roles may not have permission to authorise third-party apps — the authorisation will silently fail otherwise.
4️⃣ Select Your Account & Authorise Razorpay
Event Types → pick your event → open the editor
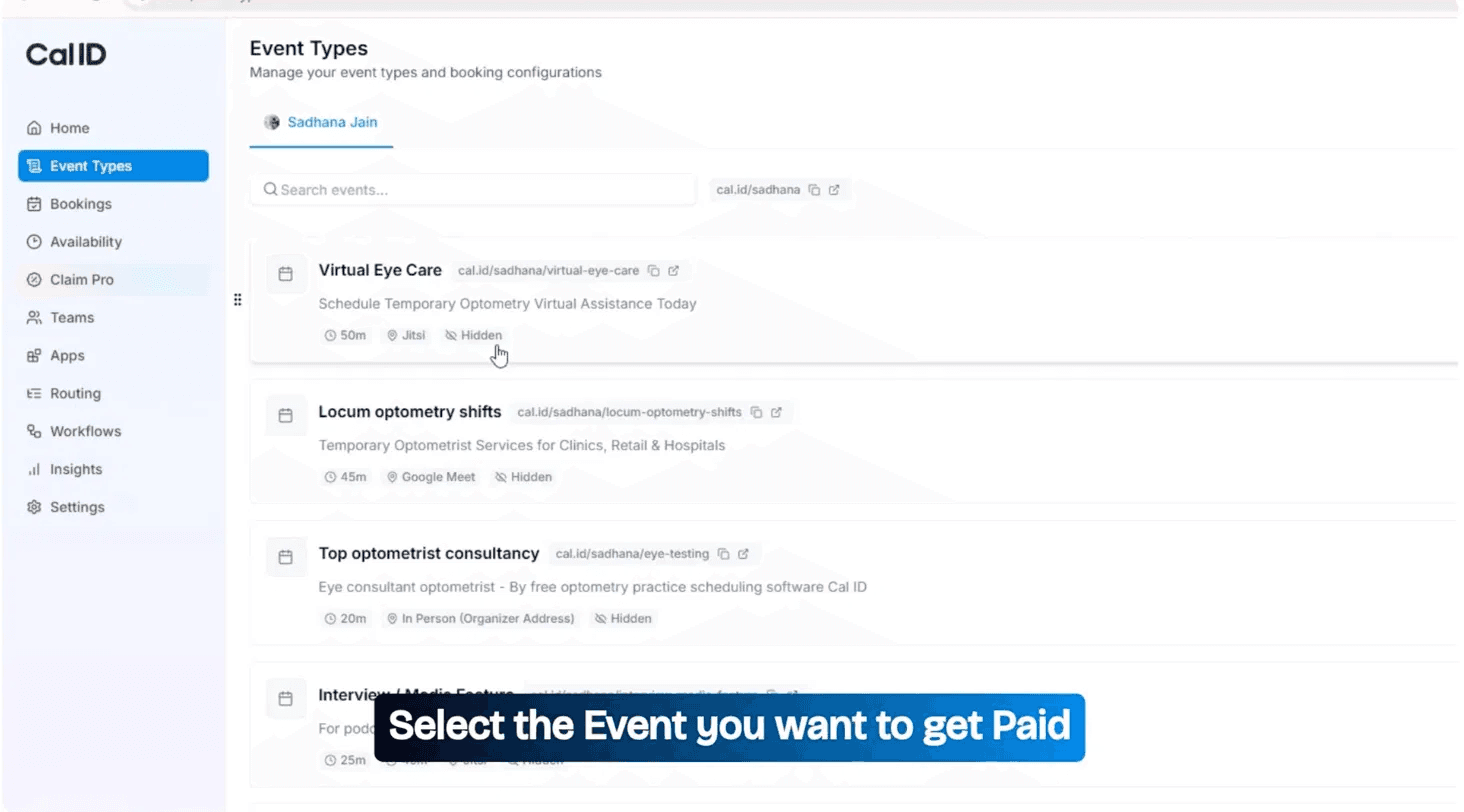
With Razorpay installed at the account level, you now assign it per event. Go to Event Types from the sidebar. This page lists all your bookable events — consultations, shifts, media features, and more — each with its own unique URL slug.
Click on the specific event you want to place behind a payment wall.
This opens the full Edit Event screen with tabs: Event Setup, Availability, Limits, Advanced, Apps, Workflows, Webhooks, Recurring, and Embed.
5️⃣ Select Your Account & Authorise Razorpay
Edit Event → Apps tab → toggle Razorpay ON
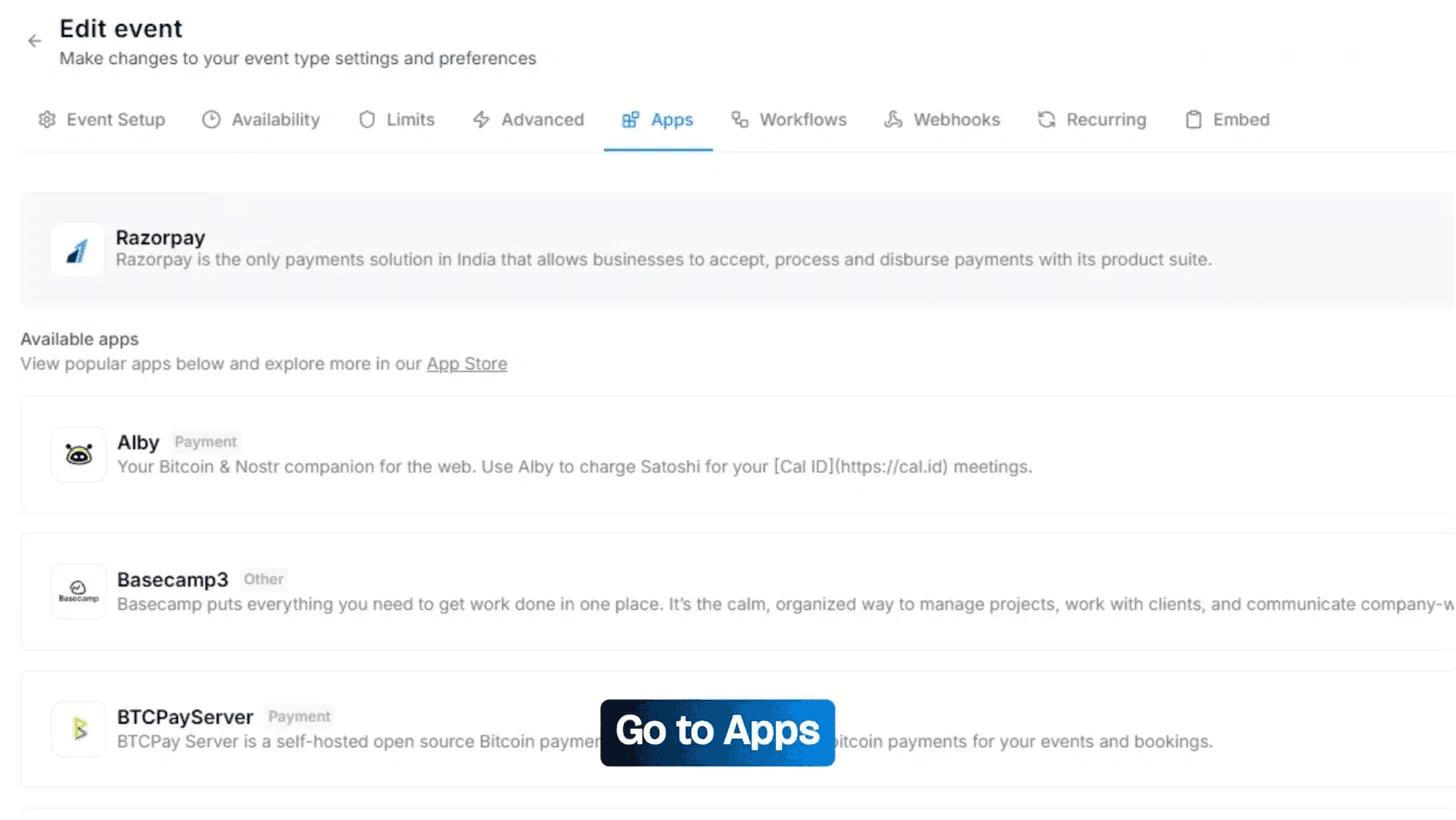
Inside the event editor, click the Apps tab in the top navigation. You'll see Razorpay listed at the top as a connected payment app, along with other available apps like Alby, Basecamp3, and BTCPayServer listed below as options.
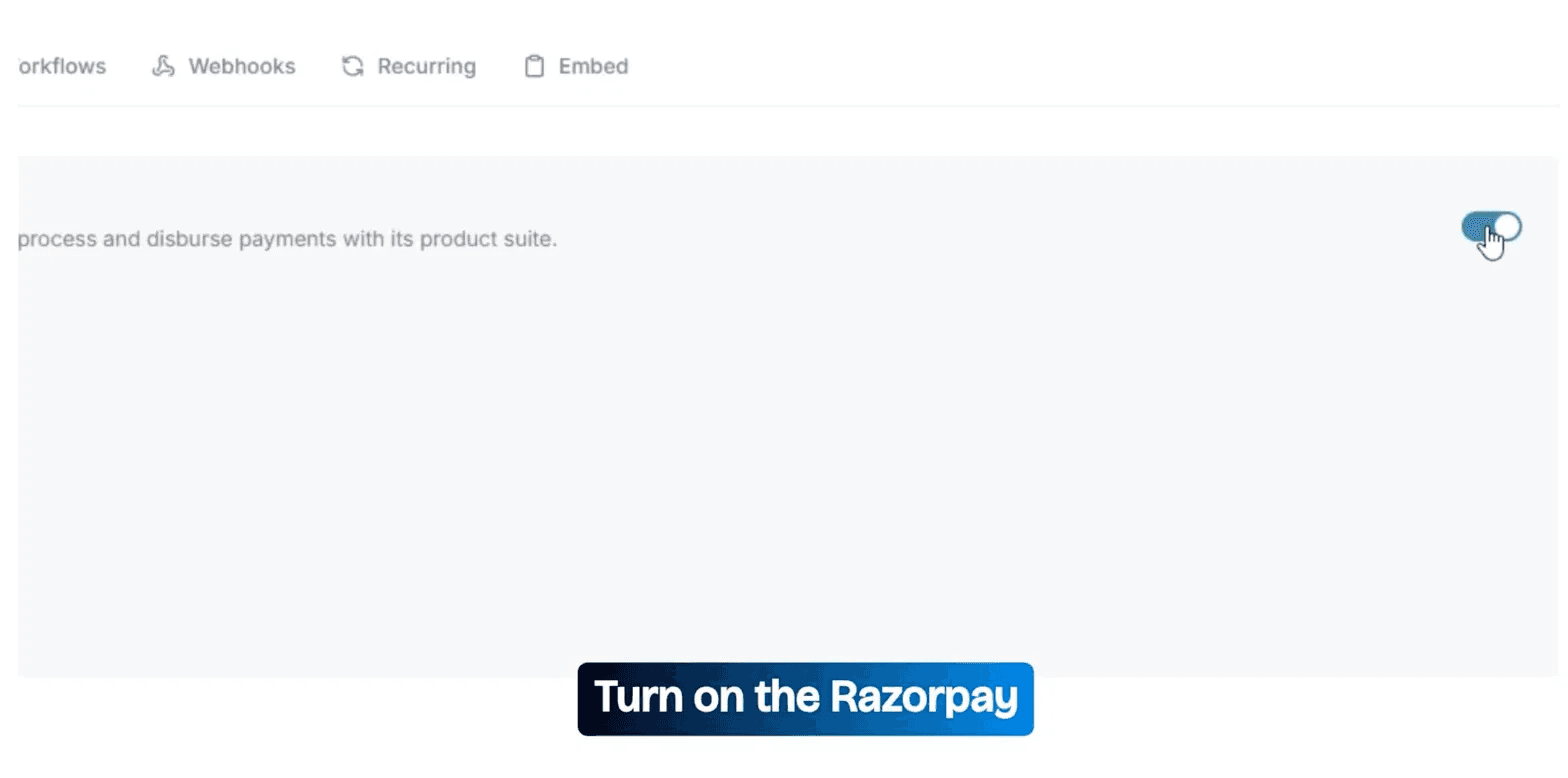
Find the Razorpay row and toggle the switch to ON (it turns teal when active). This activates Razorpay for this specific event and reveals the full payment configuration panel below it.
6️⃣ Configure Price, Currency & Refund Policy
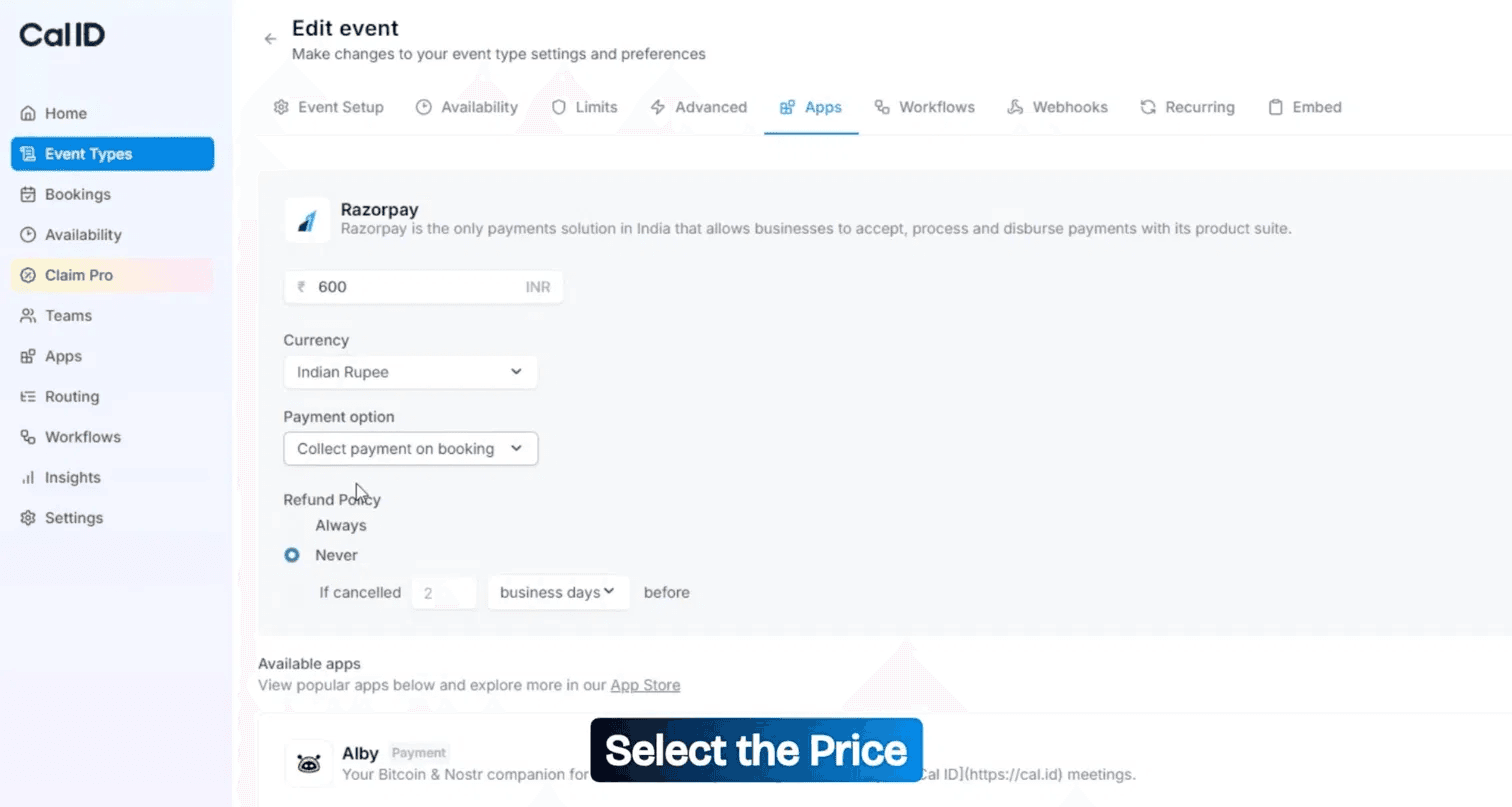
Set your booking fee and cancellation terms
With Razorpay enabled, fill in the four payment settings for this event:
Setting | What to configure |
|---|---|
Booking Fee | Enter the amount (e.g. ₹600). This is collected upfront before the slot is confirmed. |
Currency | Select from the dropdown. Indian Rupee (INR) is the default. USD, EUR, AED, AUD, GBP and many more are supported. |
Payment Option (Recommended) | Choose Collect payment on booking — requires payment before confirmation. |
Refund Policy | Set to Always (full refund), Never (no refunds), or If cancelled X business days before for a conditional policy. |
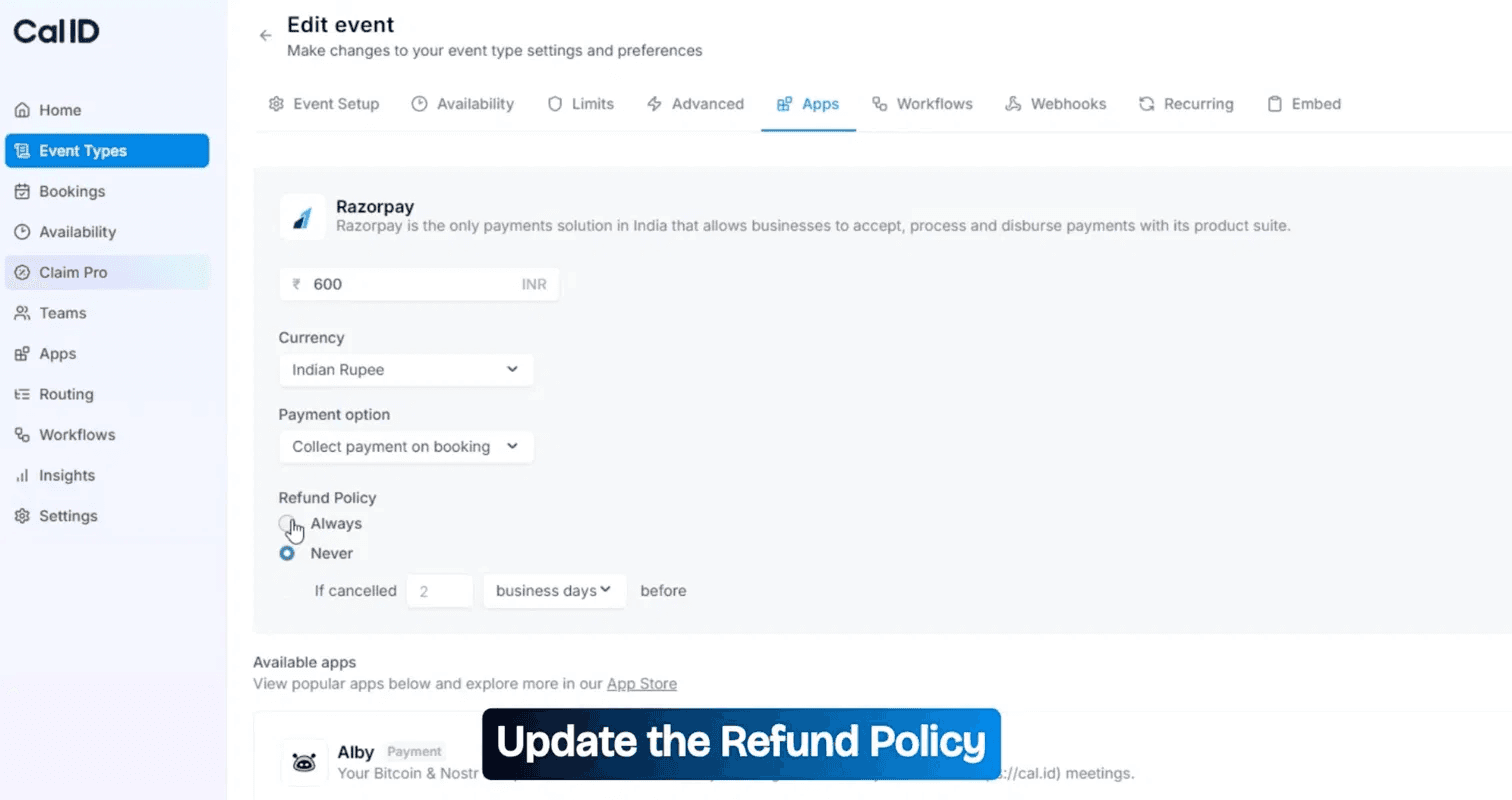
💡 Choosing "Collect payment on booking" means no calendar slot is ever confirmed without a completed Razorpay transaction, the single most effective way to eliminate no-shows.
7️⃣ Save Changes & Test Your Booking Flow
Save → visit public URL → complete a test booking

Click the Save button in the top-right corner.
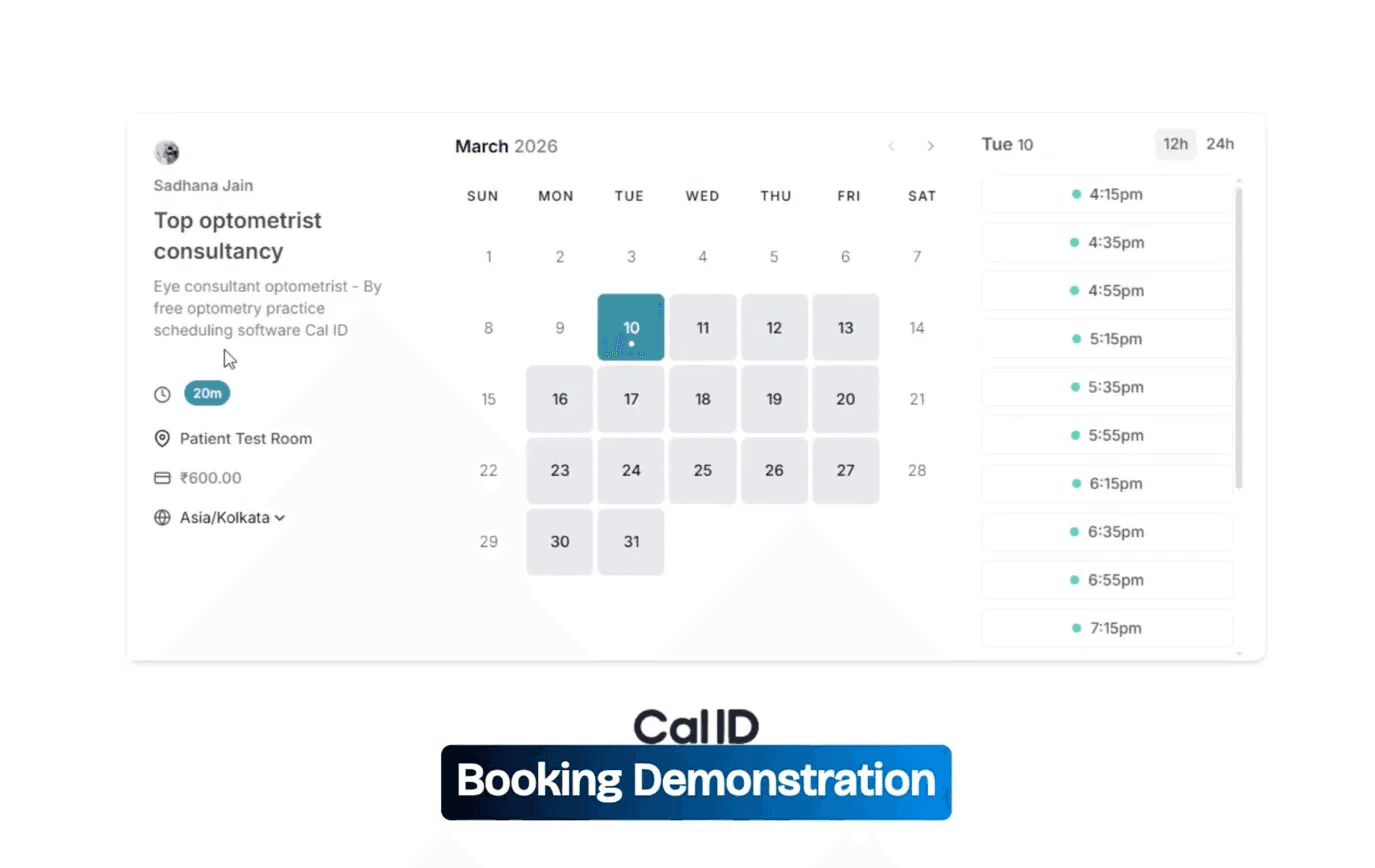
Your event is now live with payment collection active. Open your public booking link — e.g. cal.id/yourusername/event-slug — to verify the full flow from a visitor's perspective.
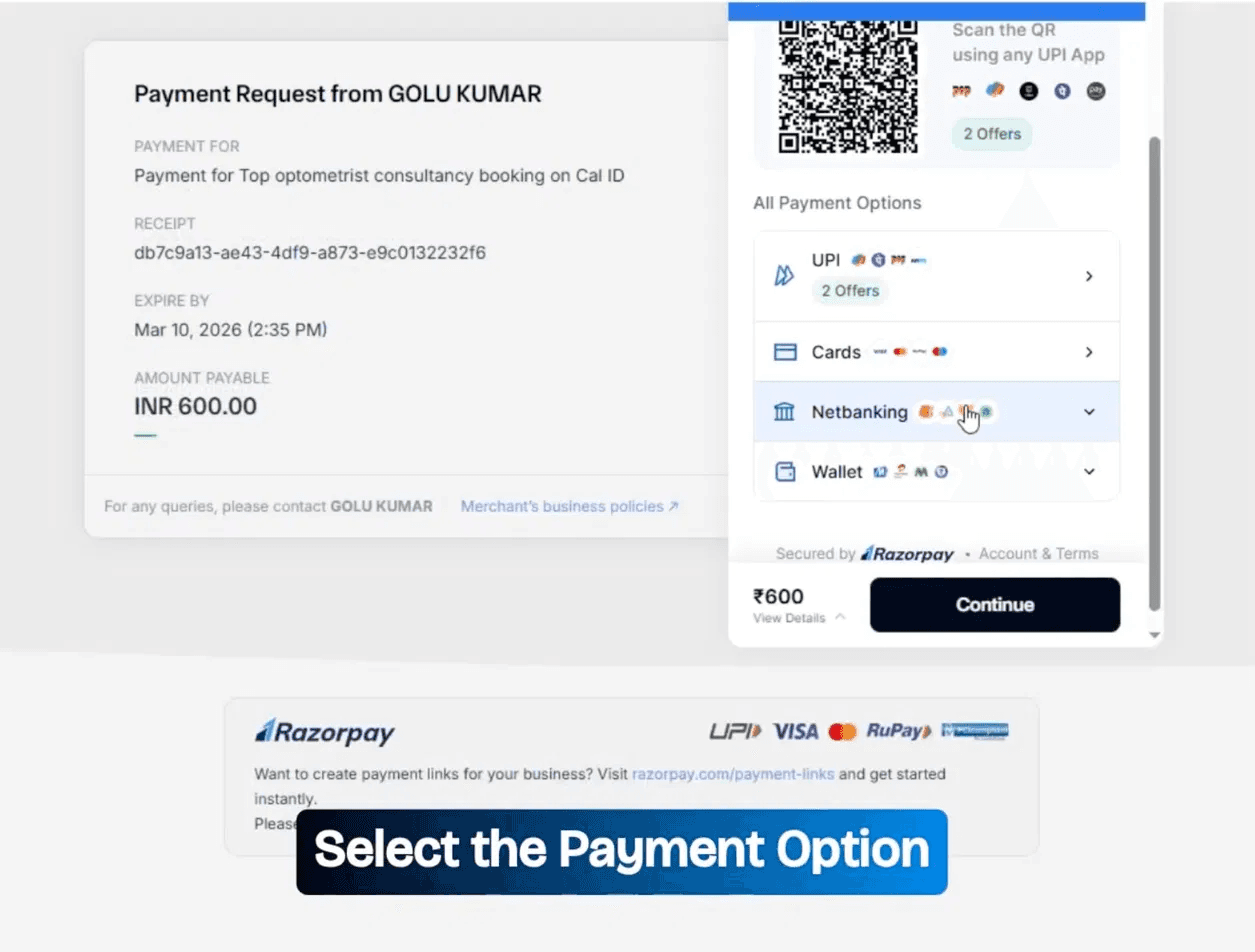
Select a date and time slot. Visitors will see a Razorpay payment screen showing the booking description, amount payable, expiry time, and all available payment methods: UPI (with QR + apps), Cards (Visa, Mastercard, RuPay), Net Banking, and Wallets.
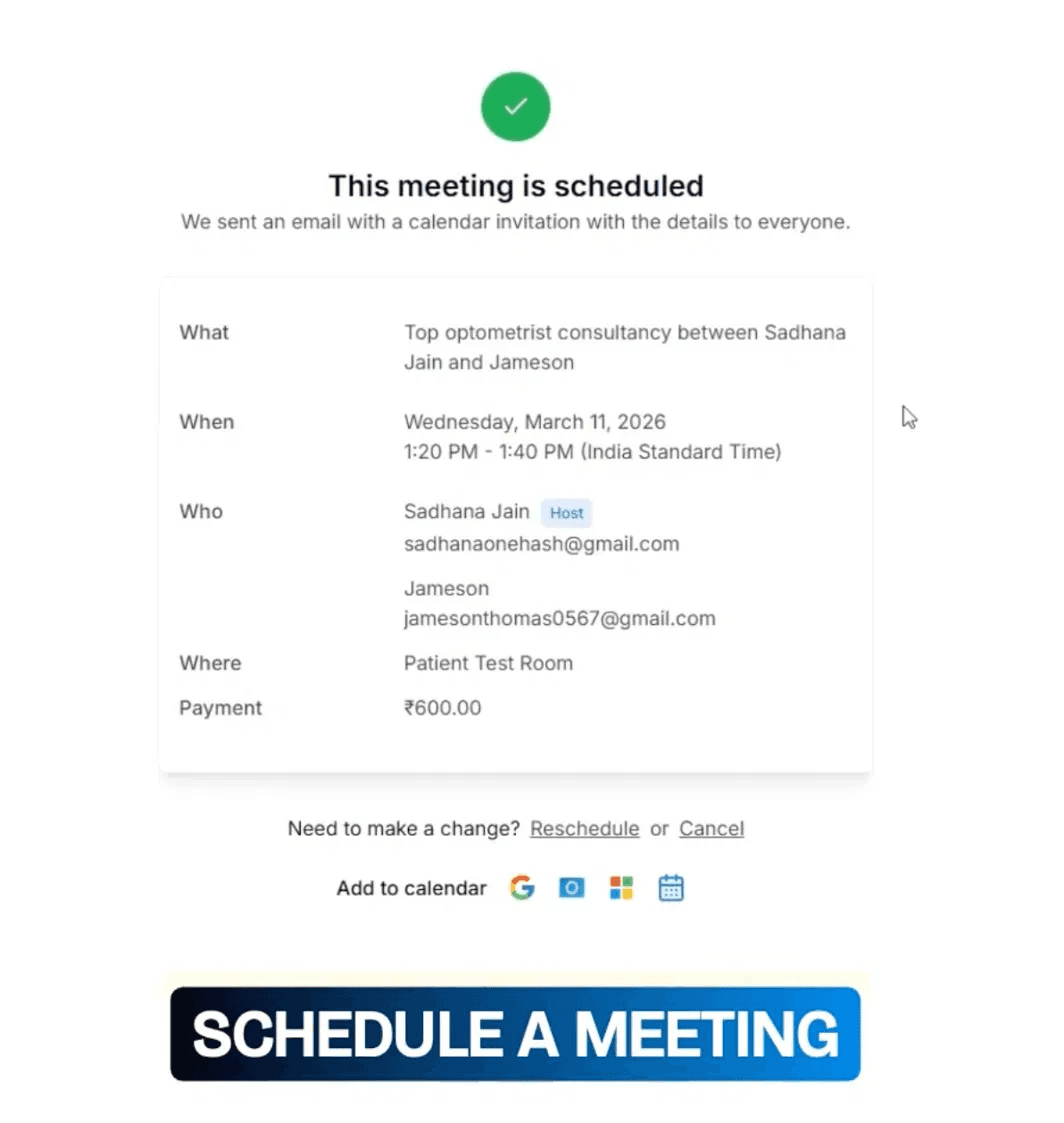
After a successful payment, Cal ID instantly confirms the booking, records the ₹600 payment, and emails calendar invites to both host and guest with one-click add options for Google, Outlook, and Apple Calendar.
Your Cal ID bookings are now payment-gated
Every booking now requires an upfront Razorpay payment, ensuring only paid bookings are confirmed while reducing no-shows automatically.
Feature | Details |
|---|---|
💳 Payment Methods | UPI, Cards, Net Banking, and Wallets |
🔄 Refund Controls | Always, Never, or Conditional refunds |
🌍 Currency Support | INR, USD, EUR, and 100+ global currencies |
📧 Auto Confirmation | Instant email confirmations with calendar invites |
4 Pro Tips to Get More from Razorpay on Cal ID
Small optimisations that improve booking conversion and make revenue collection more reliable.
Use Per-Event Pricing, Not a Flat Rate
Set a "No Refund Within 48 Hours" Policy
Share Your Direct Event Link, Not Your Profile
Track Revenue Live Inside Razorpay Dashboard


Newsletter
Subscribe now to stay updated with top news!
Subscribe to our newsletter and be the first to access exclusive content and expert insights.
Spotlight


- Sponsored Ad -

Smarter tools for modern teams—powering faster workflows and better decisions every day.
