When appointments are scheduled too close together, even a minor delay can affect your entire day. With Cal ID, you can configure buffer times for different event types, prevent back-to-back bookings, and create a more balanced schedule that works for both you and your clients.


In Cal ID, Event Buffers are a great way to ensure you never have back-to-back meetings without a break. This feature automatically adds "padding" before or after your appointments so you have time to prep, take a breath, or wrap up notes.
Let's learn how to set up buffer time between meetings with Cal ID.
Before you begin: Sign in to your Cal ID account and make sure you have at least one event type created. Steps to Set Up Buffer Time Between Meetings:
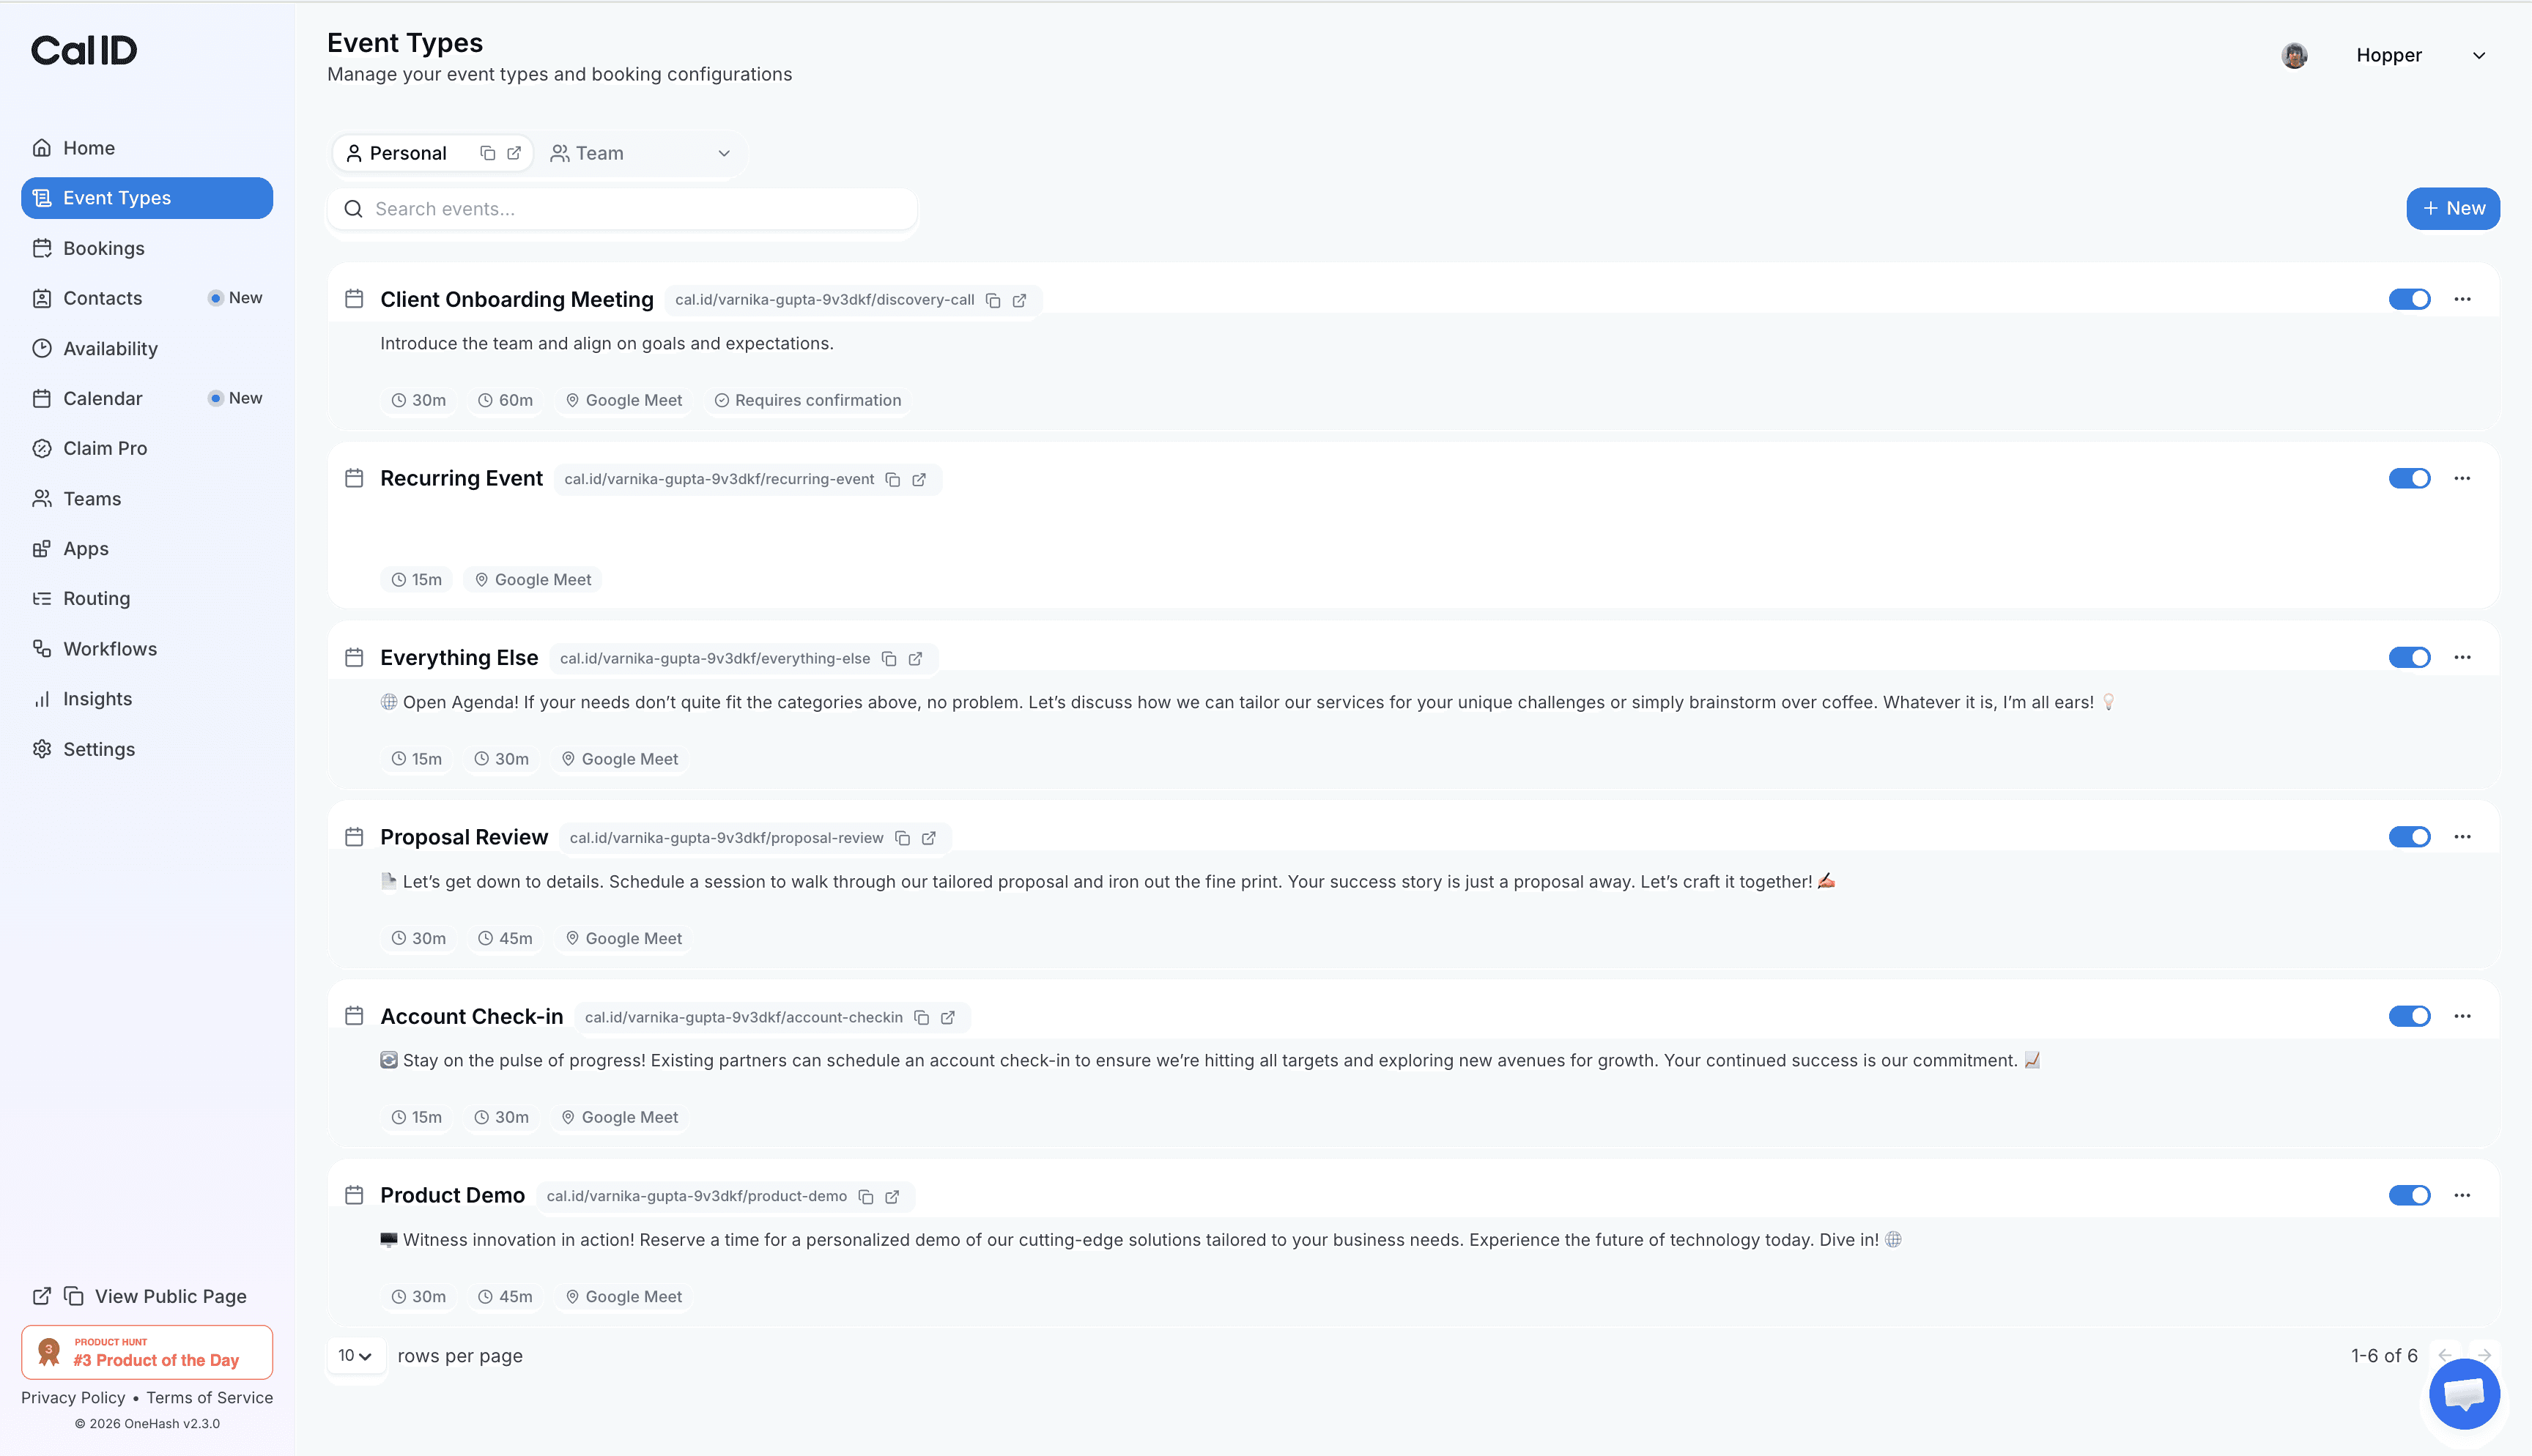
1. Open Your Event Type
Log in to Cal ID → Go to Event Types → Select the event where you want to add buffer time → Click Edit.
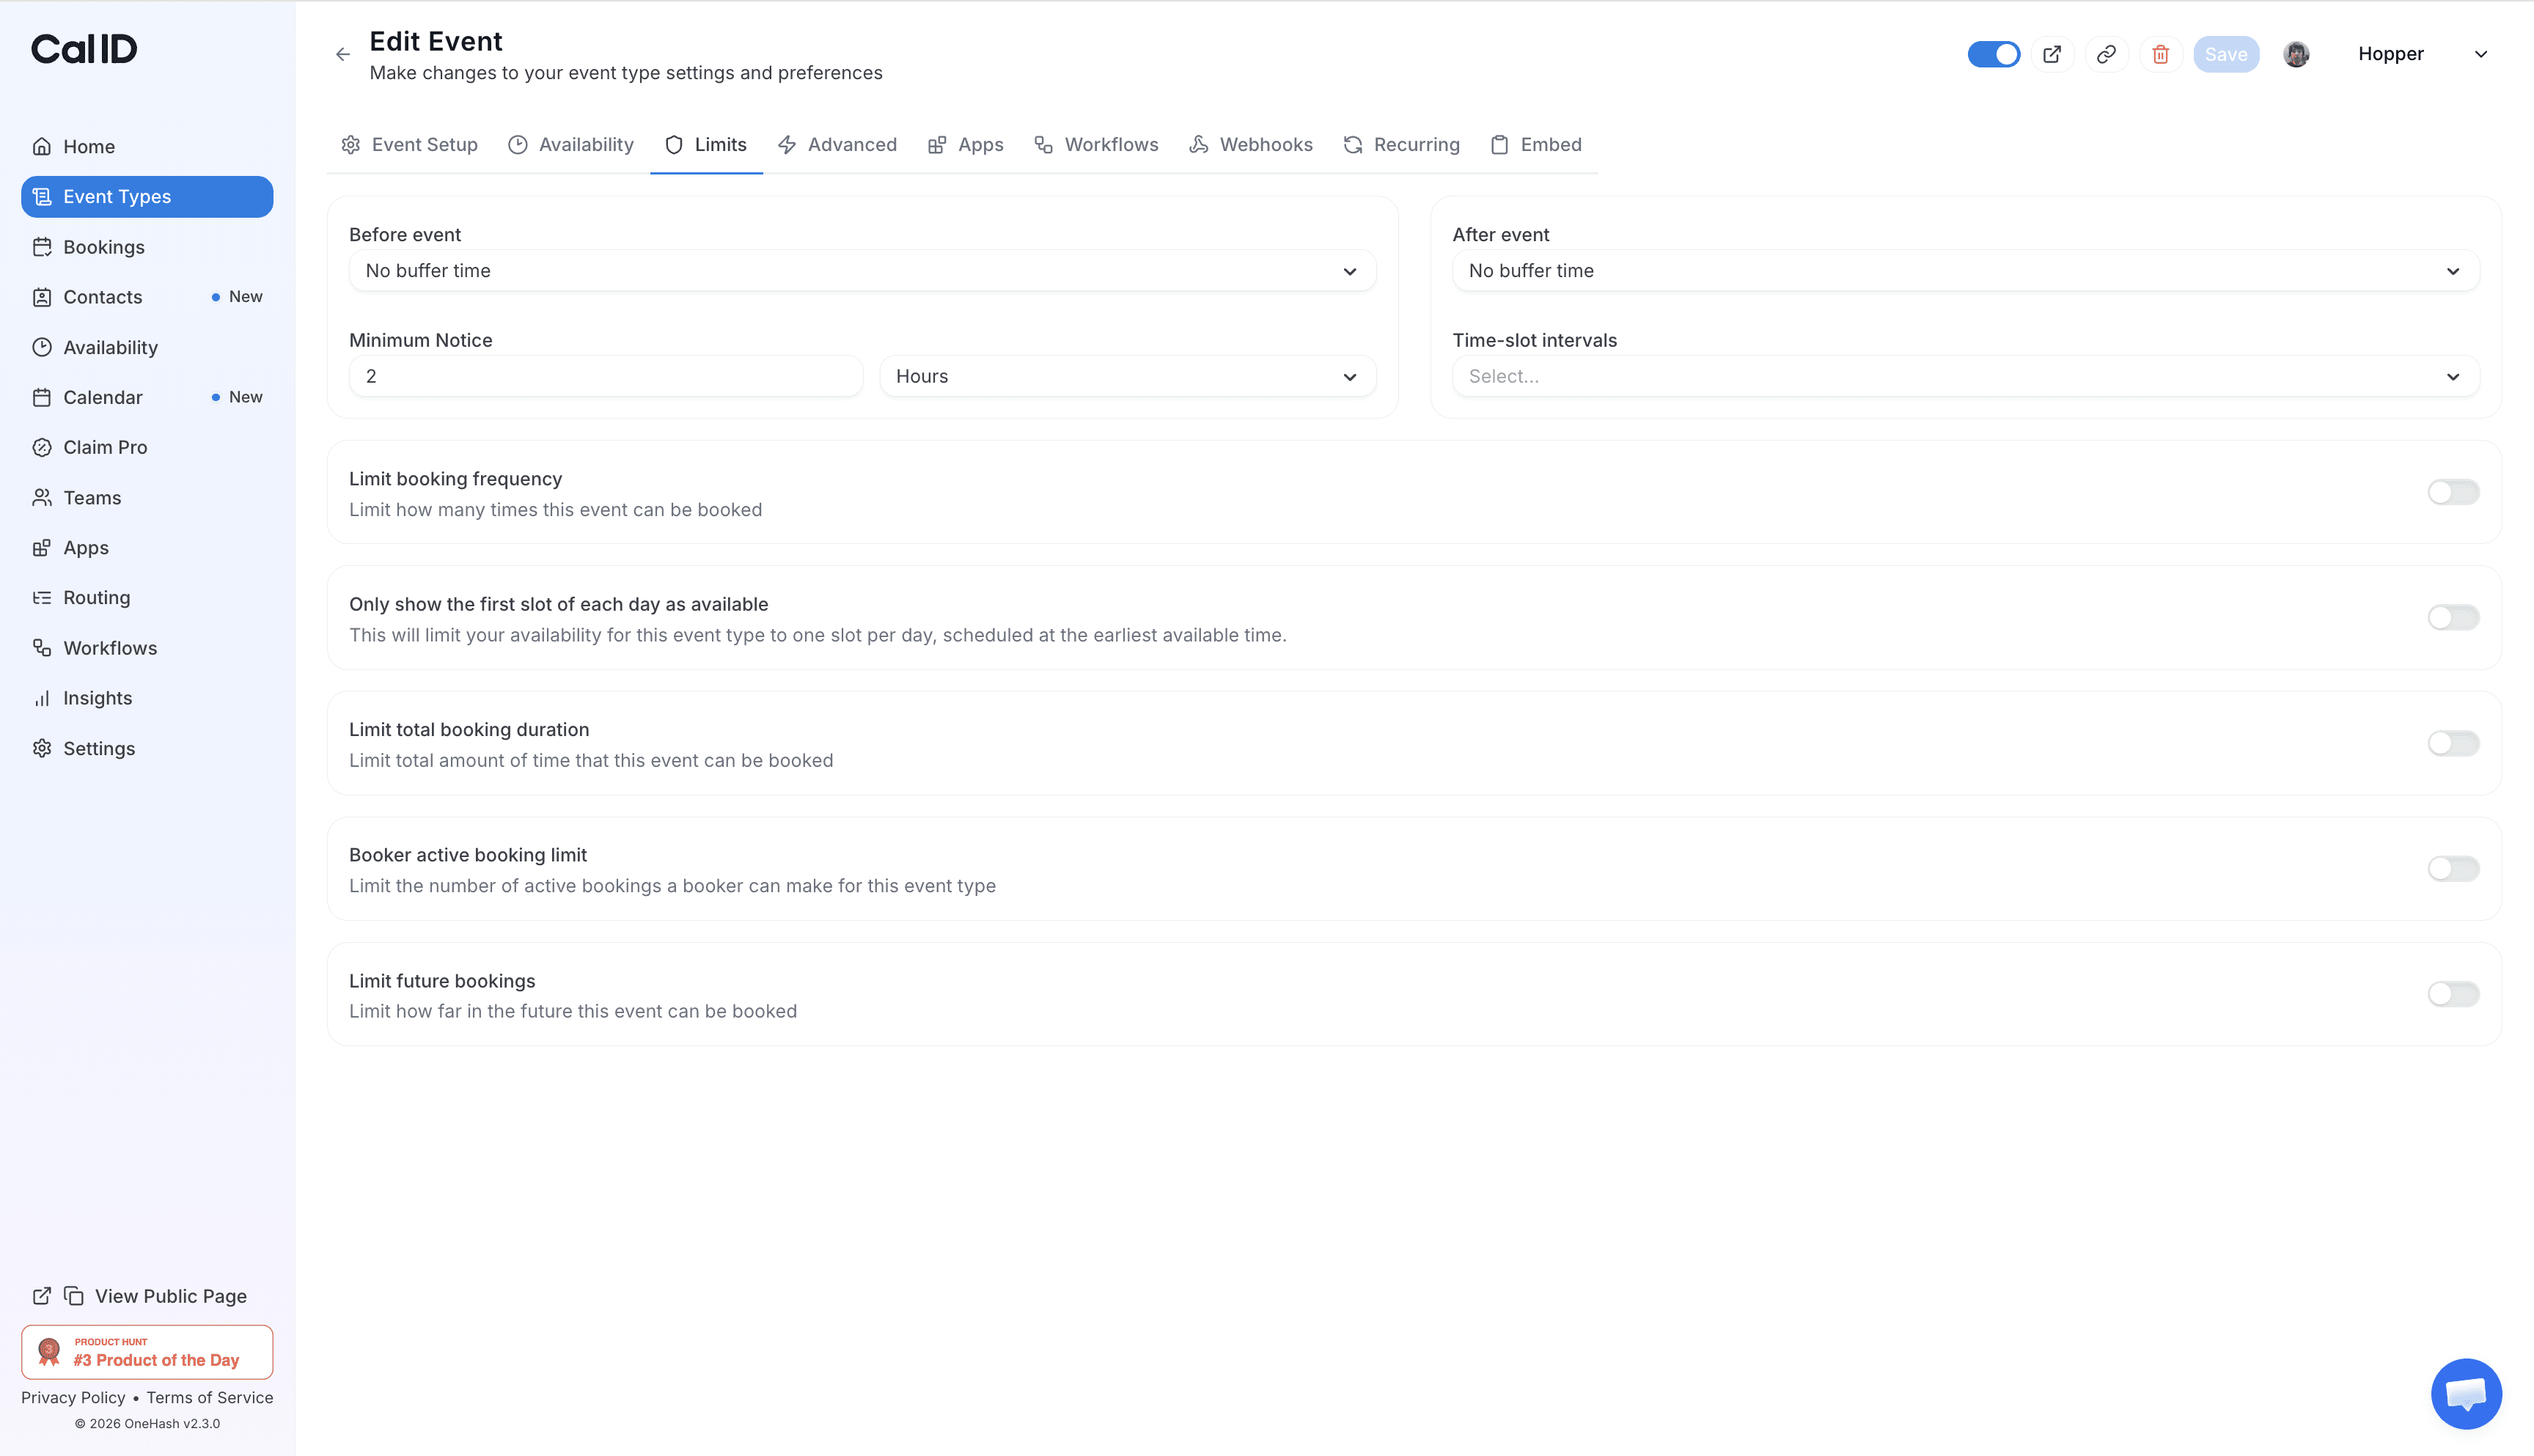
2. Navigate to the Limits Tab
Inside the event editor, click on the Limits tab from the top navigation menu.
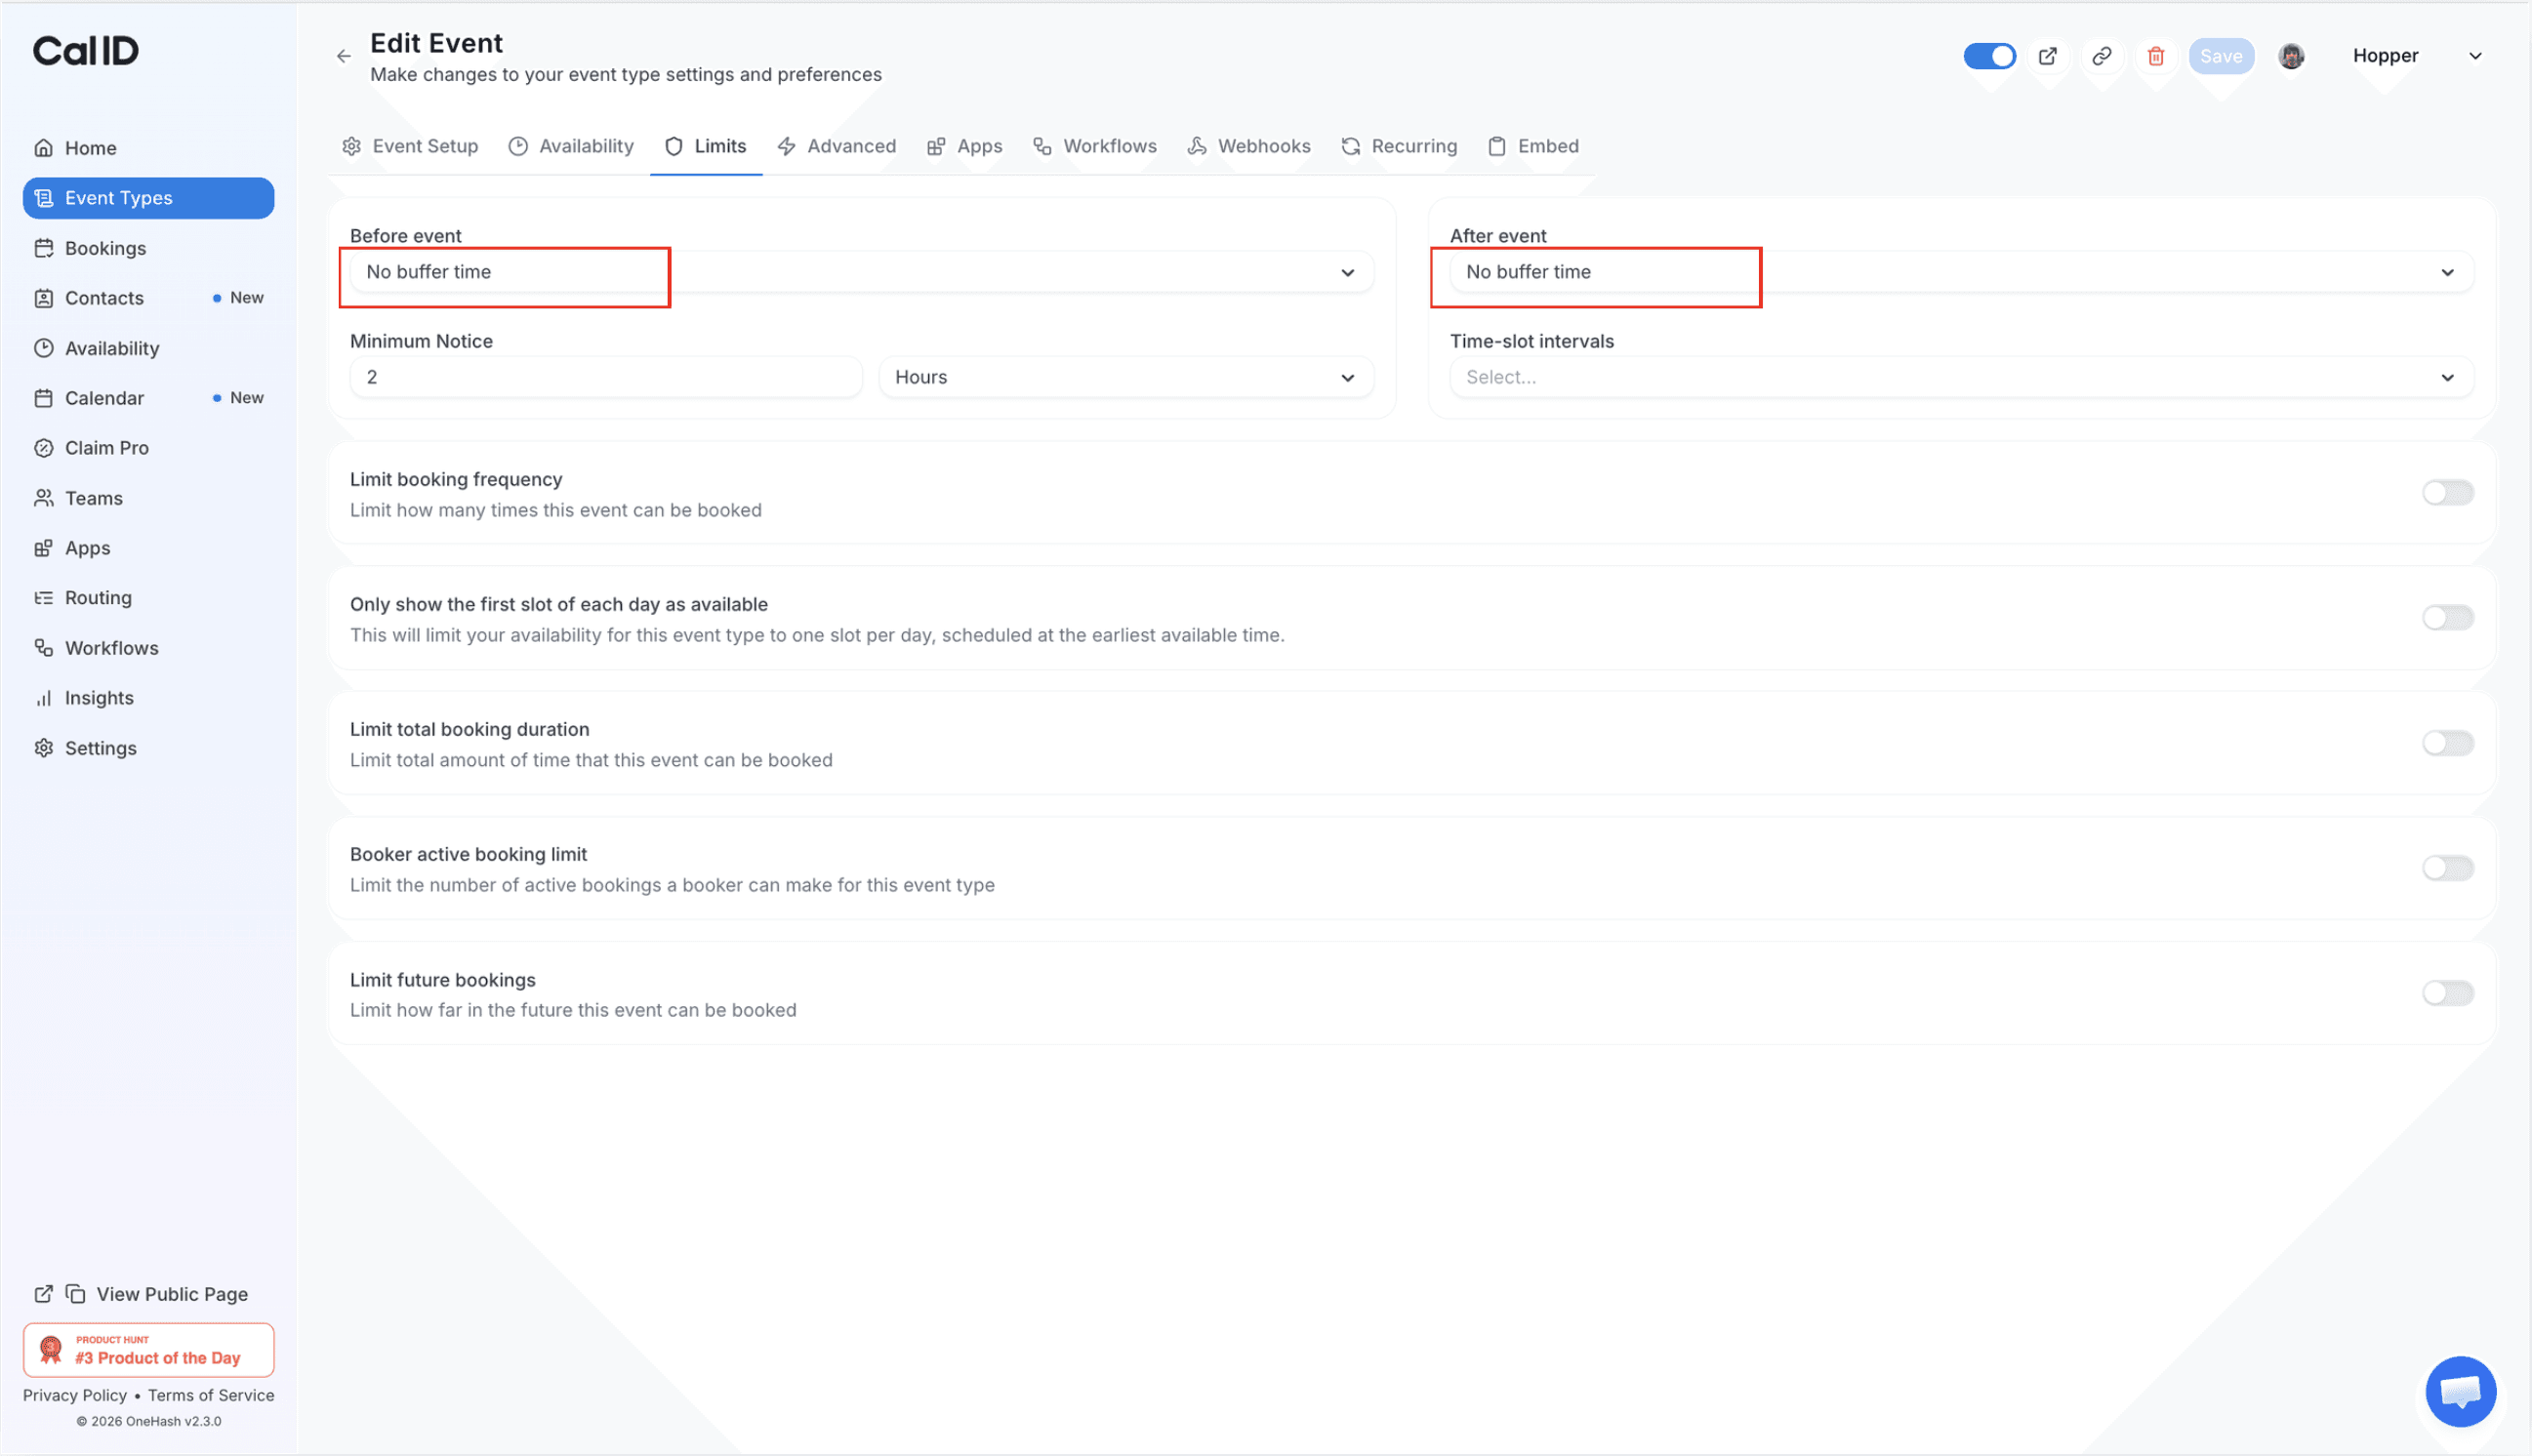
3. Configure Buffer Time
Find the Before Event and After Event settings → Enter the number of minutes you want blocked before or after each booking → Choose the settings that best fit your schedule.
4. Save Your Changes
Click Save to apply the buffer settings. Future bookings will automatically include the specified gap between appointments.

5. Verify Your Booking Page
Open your booking link and review the available time slots. You should now see spacing between meetings based on the buffer time you configured.
Note: Buffer time applies to future bookings only. Existing appointments on your calendar will not be affected. To avoid scheduling conflicts, choose buffer durations that match your workflow and meeting requirements.


Related Post

on
Aug 18, 2025
Cal ID lets you accept booking payments through Razorpay. Learn how to integrate Razorpay with Cal ID to automate payment collection, manage scheduling, and get paid before every meeting.